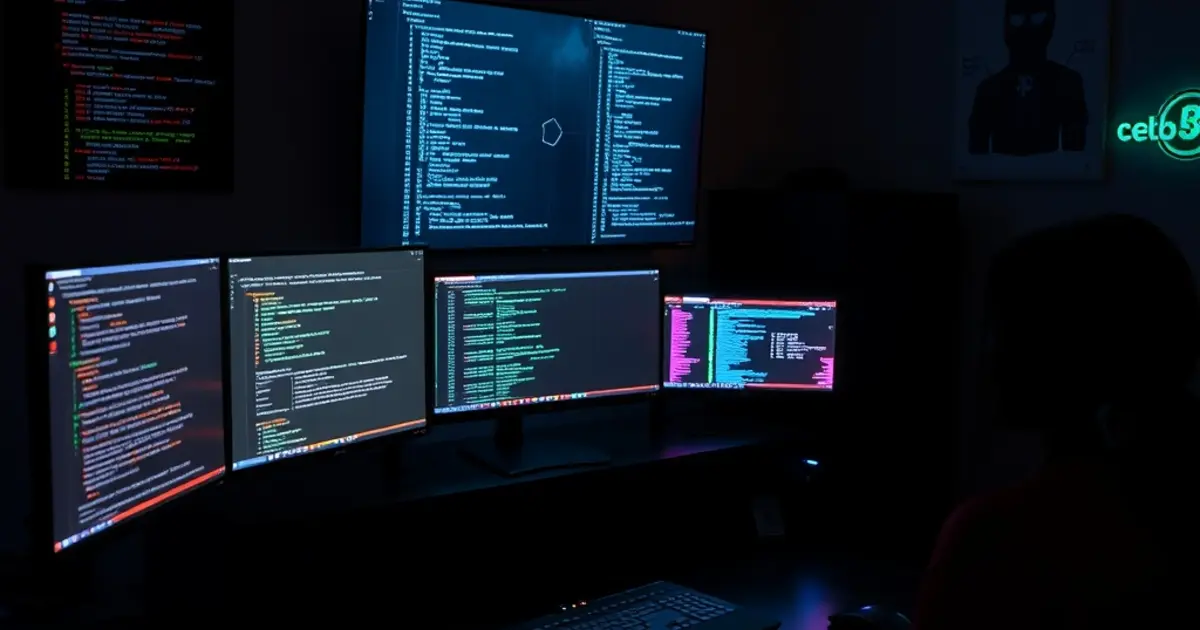
A home lab is the single highest-leverage investment you can make in an offensive security career. Online platforms are great, but nothing replaces the muscle memory you build configuring, breaking, and rebuilding your own environment.
The good news: you don’t need to spend thousands. A functional pentest lab in 2026 can be built for under $300 — and if you already have a decent laptop, possibly for free.
This is the guide I wish I’d had when I started.
What Your Lab Actually Needs to Do
Before we talk hardware, let’s be clear on the objective. A pentest lab needs to let you practice:
- Network enumeration and scanning (Nmap, Nessus, NetExec)
- Web application exploitation (OWASP Top 10, SQLi, XSS, SSRF, etc.)
- Active Directory attacks (Kerberoasting, Pass-the-Hash, BloodHound, Mimikatz)
- Privilege escalation (Windows and Linux)
- Pivoting and tunneling (ProxyChains, Chisel, Ligolo)
- Post-exploitation and lateral movement
That means you need at minimum:
- An attack machine (Kali Linux or Parrot)
- At least one vulnerable target (Windows and/or Linux)
- Ideally, a small simulated network so you can practice routing and pivoting
Everything else is polish.
Hardware Options by Budget
Option 1: Your Existing Computer ($0 extra)
If you have a machine with 16GB RAM and an i5/Ryzen 5 or better, you can run a meaningful lab right now using virtualization. Modern hypervisors handle 3-4 VMs on this spec without too much pain.
This is where most people should start. Spend money on learning, not hardware, until you’ve outgrown it.
Option 2: Budget Lab Machine ($150-$300)
The most common recommendation in 2026: a used mini PC or workstation.
Top picks:
- Beelink SER5 Pro / SER6 — AMD Ryzen 7, 32GB RAM, 500GB NVMe, compact form factor. Around $250-$300 new, $180-$220 refurbished.
- HP EliteDesk 800 G4 Mini — Intel i7-8700T, 32GB RAM, upgradeable. Frequently found for $150-$200 on eBay/Newegg Marketplace.
- Lenovo ThinkCentre M920q — Similar spec, great build quality, tons of enterprise surplus units available.
For a pentest lab, 32GB RAM is the magic number. It lets you run Kali + a Windows Server + 2-3 target VMs simultaneously without constant swapping.
Option 3: Dedicated Lab Server ($400-$700)
If you’re serious about Active Directory simulation and running multiple machines:
- Used Dell PowerEdge R720/R730 — 128GB ECC RAM, dual Xeon, noisy and power-hungry but extremely capable
- Minisforum MS-01 — The 2025/2026 homelab darling. Intel Core Ultra, supports 64GB RAM, has dual 2.5GbE and optional 10GbE. Around $600-$700.
The Minisforum MS-01 in particular has become the go-to recommendation for serious homelab practitioners who want modern performance in a small footprint.
Hypervisor Choice
VMware Workstation Pro (Now Free for Personal Use)
Broadcom made VMware Workstation Pro free for personal use in 2024. If you’re on Windows or Linux and want the most battle-tested, feature-rich VM platform, this is currently the default recommendation.
Pros: Rock-solid, extensive networking options, snapshots, VMware Tools integration Cons: Some features require licensing for commercial use, UI is dated
VirtualBox (Free, Cross-Platform)
VirtualBox is still the entry-level recommendation for total beginners — it’s free, well-documented, and runs on Windows/Mac/Linux. Performance lags behind VMware and Proxmox, but it’s completely functional for basic lab work.
Use it if: you’re just starting out, on a Mac, or want zero installation friction.
Proxmox VE (Free, Bare-Metal)
If you have a dedicated lab machine, Proxmox VE is the way to go. It’s a bare-metal hypervisor (like ESXi, but free and open source) that runs on Linux and gives you a full web-based management interface.
Proxmox runs KVM/QEMU VMs and LXC containers. Performance is excellent, and features like live snapshots, clustering, and ZFS storage are included at no cost.
This is what I’d run on a mini PC dedicated to lab work.
Setting Up Your Attack Machine
Kali Linux
Kali remains the standard. In 2026, the recommended setup is:
- Download the latest Kali ISO from kali.org
- Create a VM with: 4 vCPUs, 8GB RAM, 80GB disk
- Run a full upgrade after install:
sudo apt update && sudo apt full-upgrade -y - Install any missing tools from
kali-linux-everythingmetapackage
Important: Use snapshots heavily. Take a clean snapshot after initial setup, another after you’ve installed your preferred tools. This lets you roll back quickly when you break things (and you will break things).
Parrot OS Security Edition
A solid alternative to Kali, especially on lower-spec hardware. The security edition includes most of the same tools with a lighter resource footprint.
Building a Windows Target Environment
This is where most people underinvest, and it’s a mistake. The majority of real-world engagements involve Windows environments and Active Directory. You need to practice this.
Windows 10/11 Evaluation VMs
Microsoft provides free 90-day evaluation ISOs for Windows 10 Enterprise and Windows 11. Download them from the Microsoft Evaluation Center. They work fine for lab targets — just snapshot before the 90-day expiration and revert.
VM spec: 2 vCPUs, 4GB RAM, 60GB disk for a basic Windows target.
Active Directory Lab (Essential)
Setting up a small AD domain is one of the most valuable things you can do. You need:
- Windows Server 2019/2022 Evaluation (free from Microsoft Evaluation Center)
- Promote it to a Domain Controller during setup
- Add your Windows 10/11 VM to the domain
- Create a few user accounts with varying privilege levels
- Intentionally misconfigure things: weak passwords, over-permissioned service accounts, Kerberoastable SPNs
DetectionLab and Game of Active Directory (GOAD) are excellent pre-built AD lab environments you can deploy via Vagrant. They save significant setup time and come pre-configured with realistic vulnerabilities.
For conceptual depth on attacking AD environments, The Hacker’s Playbook 3 dedicates substantial coverage to Active Directory attack chains and is still the best practitioner-focused resource on the topic.
Vulnerable Linux Targets
Metasploitable 2 and 3
Classic intentionally vulnerable Linux VMs. Metasploitable 2 is dated but still useful for beginners learning Metasploit and basic exploitation. Metasploitable 3 is more complex and includes both Linux and Windows variants.
VulnHub
VulnHub hosts hundreds of free, community-contributed vulnerable VMs across all difficulty levels. Download them, import into your hypervisor, and practice. Many are retired HTB/THM machines reformatted for offline use.
Custom Vulnerable Apps
For web application practice, run Docker containers of intentionally vulnerable apps:
- DVWA (Damn Vulnerable Web Application)
- WebGoat (OWASP’s training app)
- Juice Shop (modern single-page app with realistic vulns)
- VulnLab (newer, more realistic scenarios)
Networking Your Lab
The Basics: Isolated Host-Only Network
At minimum, create an isolated host-only network in your hypervisor. This keeps your attack traffic off your real network (important both for safety and for simulating proper network segmentation).
Intermediate: Multiple Subnets for Pivoting Practice
Once you’re comfortable with basic exploitation, add network complexity:
- Create two host-only networks (e.g., 192.168.10.0/24 and 192.168.20.0/24)
- Place your Windows DC on one network
- Place a “jump box” with two NICs bridging both
- Practice pivoting from your attack machine → jump box → DC
This directly simulates the network architecture you’ll encounter in real internal network assessments.
Penetration Testing by Georgia Weidman covers network pivoting techniques in detail and is an excellent companion to hands-on lab practice — especially the chapters on tunneling and post-exploitation.
Essential Tool Setup on Kali
Don’t try to learn every tool at once. Start with the fundamentals:
Enumeration:
- Nmap (port scanning)
- Gobuster / Feroxbuster (directory fuzzing)
- Enum4linux-ng (SMB enumeration)
- NetExec / CrackMapExec (network-wide AD enumeration)
Exploitation:
- Metasploit Framework
- Searchsploit / Exploit-DB
- Impacket suite (AD attacks)
Web:
- Burp Suite Community (intercept proxy — worth learning deeply)
- SQLMap (automated SQLi)
Post-Exploitation / AD:
- BloodHound + Neo4j (AD attack path visualization)
- Mimikatz (credential extraction)
- Rubeus (Kerberos attacks)
- Chisel / Ligolo-ng (tunneling)
For web application testing specifically, The Web Application Hacker’s Handbook provides the conceptual framework that makes Burp Suite make sense. It’s older but the underlying techniques are still foundational.
Lab Documentation: Build the Habit Now
One thing that separates professionals from hobbyists: documentation. Start keeping notes from day one.
Obsidian with a structured vault works well. CherryTree is the traditional choice among pentesters. Some people use simple markdown in VS Code.
The format doesn’t matter. The habit does. Clients pay for reports, not shells. Practice writing up your findings even in your home lab.
Cloud-Based Lab Alternative
Not everyone has hardware to spare. If you’d rather spin up lab environments in the cloud, Vultr is the go-to choice for red teamers — fast SSD instances, hourly billing, and bare metal options for when you need raw performance. Spin up a target, practice, destroy it. No hardware required, no electricity bill.
Vultr pricing for lab use:
- $6/month (or ~$0.009/hour) for a basic Linux target
- $24/month for a Windows Server instance
- Snapshot and restore = reset your target anytime
DigitalOcean is another solid option — clean UI, excellent documentation, and a $200 free credit for new signups. Great for spinning up Ubuntu/Debian targets quickly.
Affiliate links — we earn a small commission at no extra cost to you.
Estimated Budget Summary
| Item | Free Option | Paid Option |
|---|---|---|
| Hypervisor | VirtualBox / Proxmox | VMware Workstation Pro (free personal) |
| Attack machine | Kali VM | Parrot OS VM |
| Windows targets | Evaluation ISOs (90-day) | Evaluation ISOs |
| Vulnerable Linux | VulnHub VMs | — |
| Hardware | Existing machine | $150-$300 mini PC |
| Total | $0 | $150-$300 |
Getting Started This Weekend
Here’s a concrete action plan:
- Today: Install VMware Workstation Pro (free) or VirtualBox
- Today: Download Kali Linux ISO and create your attack VM
- This weekend: Download a Windows Server evaluation ISO, create your DC, add a Windows 10 VM to the domain
- Next week: Set up DetectionLab or GOAD for a pre-built AD environment
- Ongoing: Work through HTB Academy’s Penetration Tester path while practicing on your local lab
The lab is a means to an end. Build it quickly, break it often, and focus your energy on understanding the techniques — not perfecting the infrastructure.
One more tip: If you’re running external assessments or just want to keep your lab traffic separated from your home IP, NordVPN is a solid choice — fast, reliable, and useful for keeping your testing traffic clean.
Once your lab is set up, check out our HTB vs TryHackMe guide to decide which online platform to pair with your local practice.